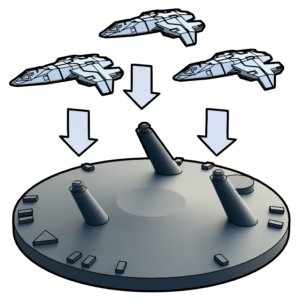
M2 Base System
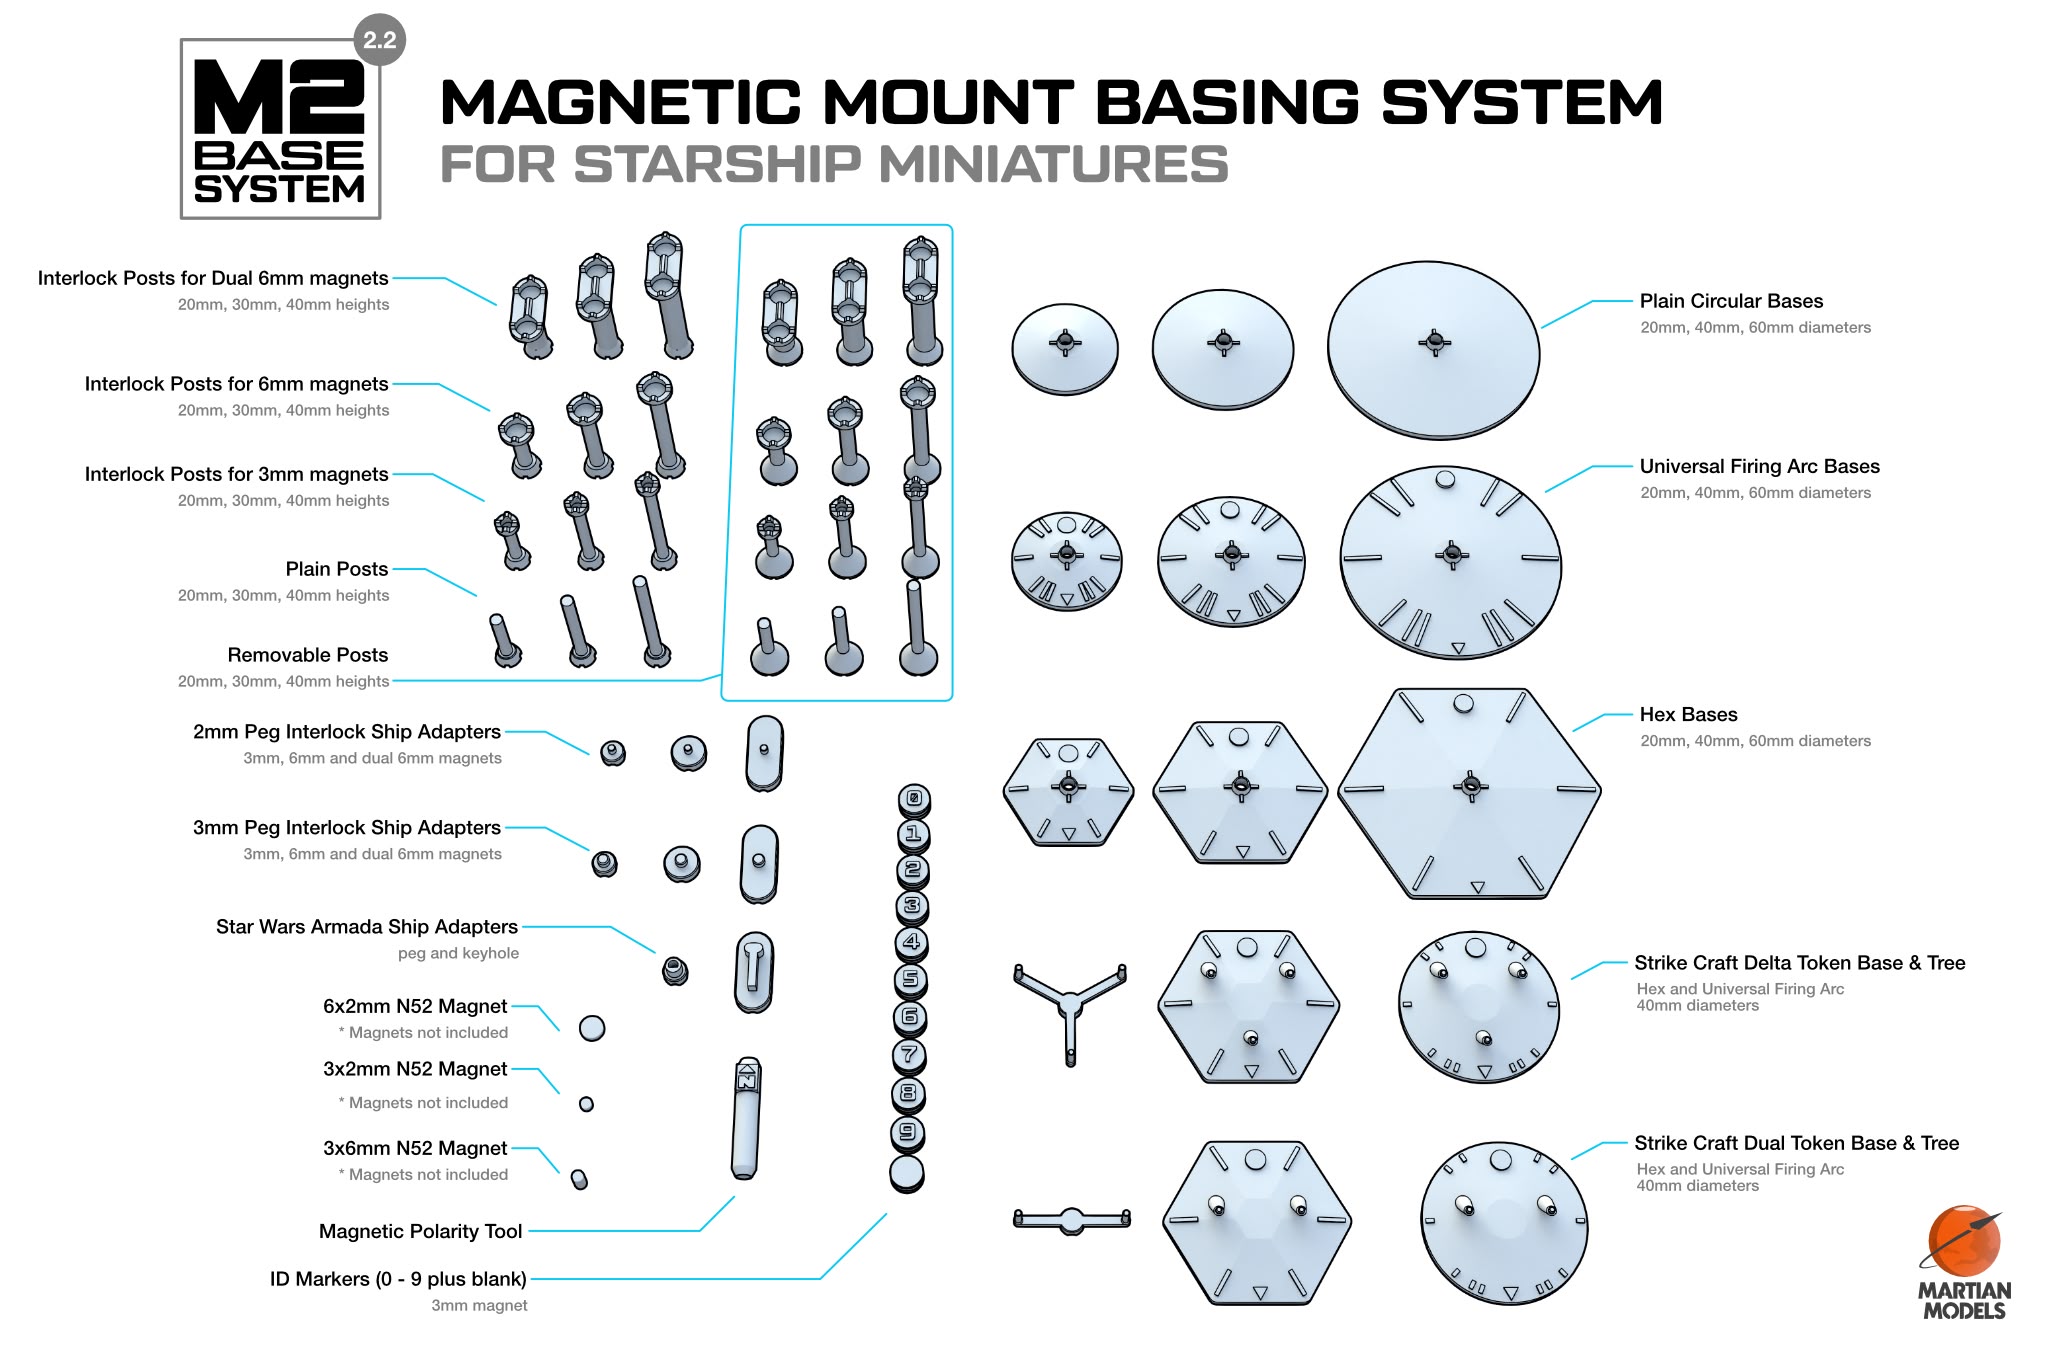
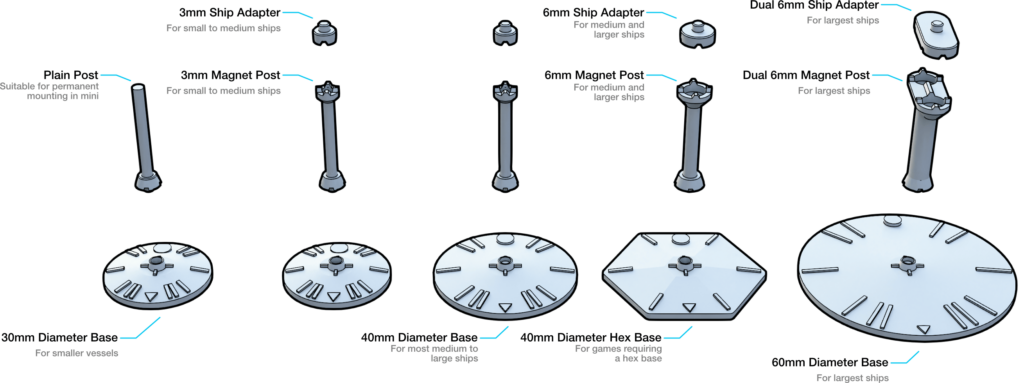
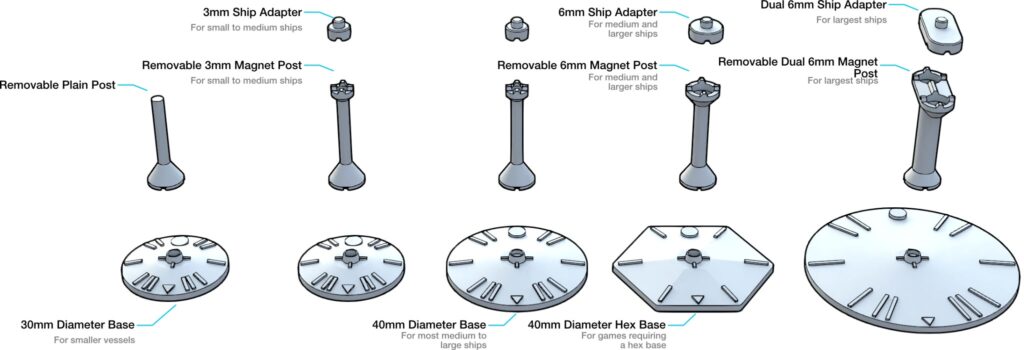
The M2 (Magnetic Mount) Base System is a modular system of bases plus interlocking post and adapter components. With bases for everything from small fighter squadrons all the way up to large capital ships, the system provides a useful and convenient basing solution for all of your starship miniatures.
The M2 Base System is a separate purchasable product although our older model packs (Hellas Shipyards packs) came with a limited set of M2 v1.0 components.
NOTE: these models are designed for high resolution resin printers.
Usage License for Digital Files
The included digital 3D files (the product) are for personal use only and not any commercial printing activity. The product is not to be shared or distributed by any means. The product is not to be resold in whole or in part.
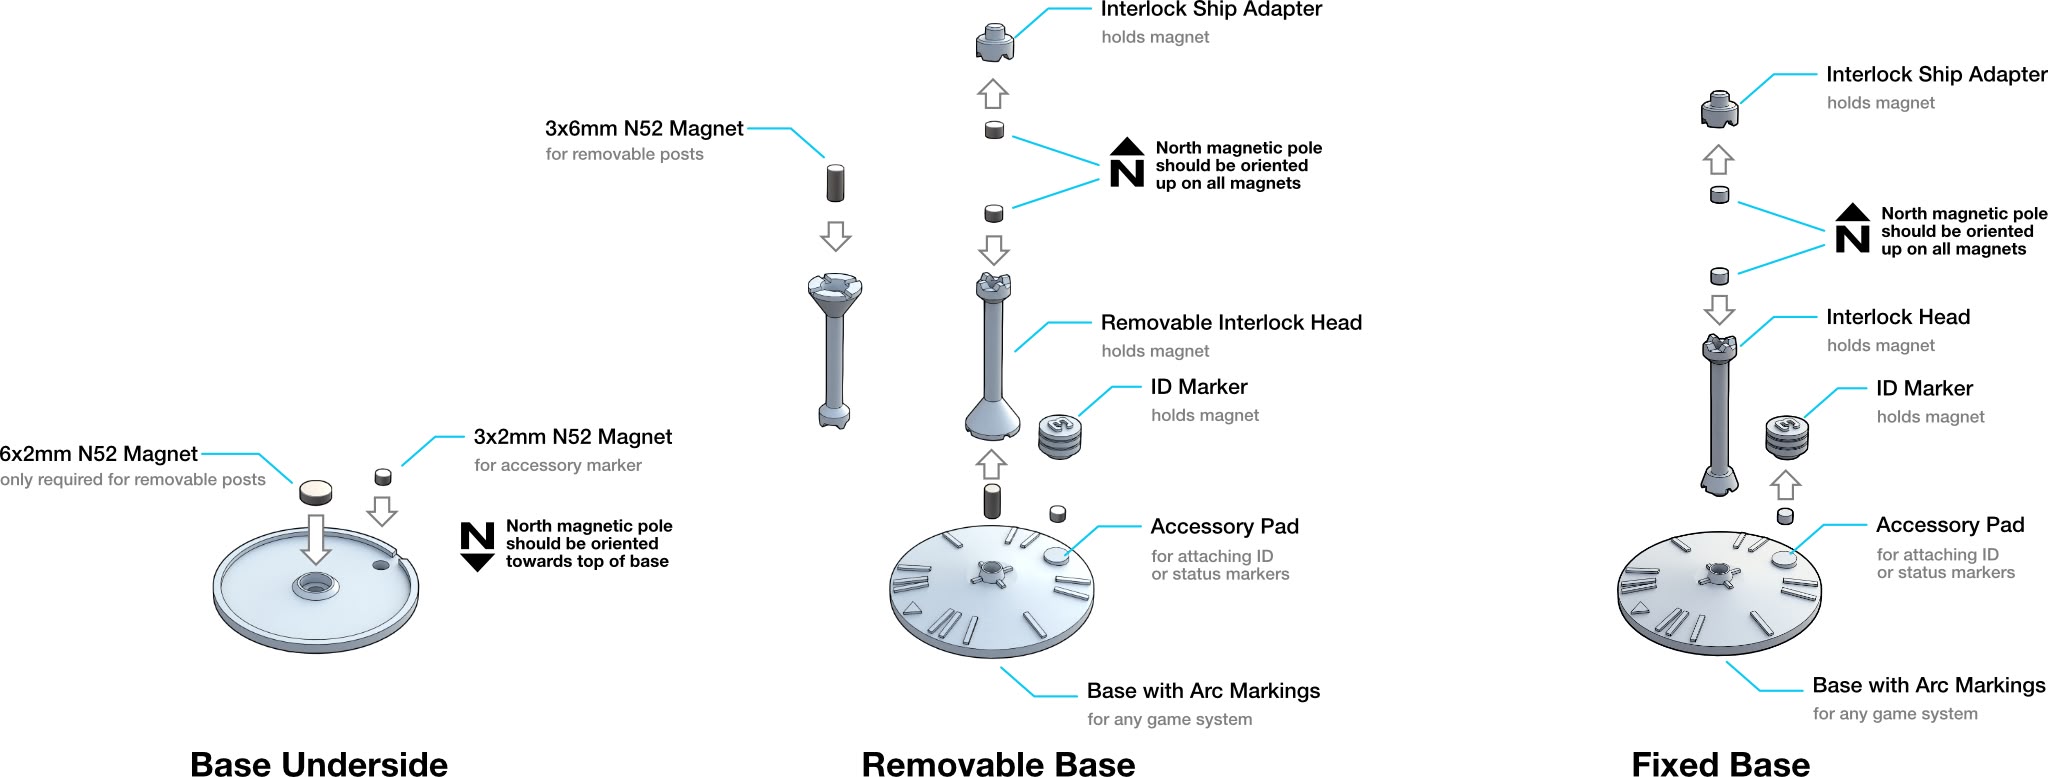
FIXED BASE ASSEMBLY
Step 1
Choose the post and base combination desired for the miniature being mounted.
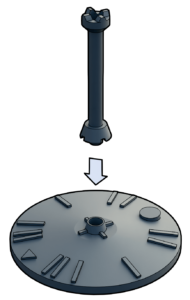
Step 2
Glue post into base.
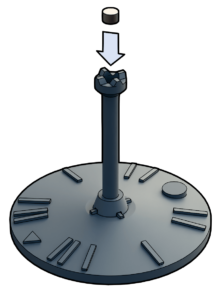
Step 3
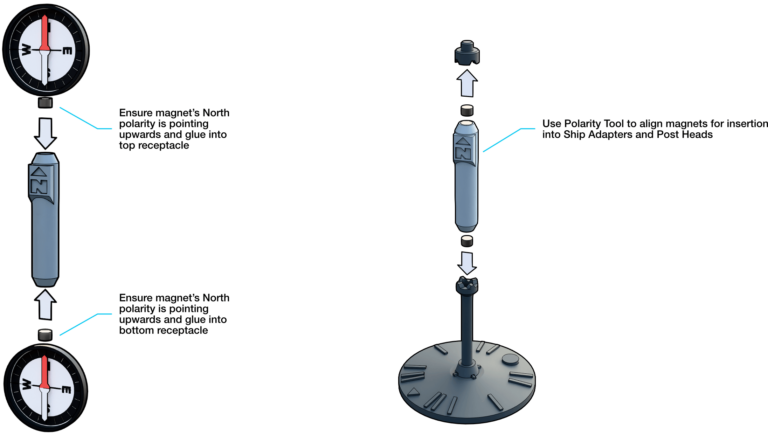
Glue magnet into post head.
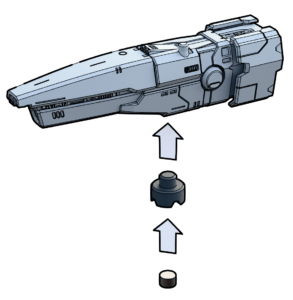
Step 4
Glue magnet into ship adapter. Glue ship adapter into ship model, taking care to ensure the notches are aligned with the axis of the ship model.
REMOVABLE BASE ASSEMBLY
Step 1
Choose the post and base combination desired for the miniature being mounted.
Note: removable posts have a broader, sloped alignment collar.
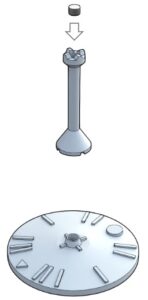
Step 2
Glue 3x6mm magnet into post bottom.

Step 3
Glue magnet into post head.
Step 4
Glue magnet into ship adapter. Glue ship adapter into ship model, taking care to ensure the notches are aligned with the axis of the ship model.

Strike Craft Bases
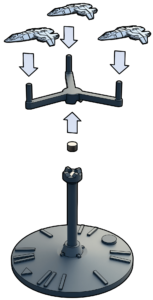
Strike Craft can be mounted on the included Flight Tree Topper or a 40mm Token Base if you prefer a low profile configuration. Topper and Token Bases for dual and triple model configurations are available.
Flight Tree Toppers
Insert a magnet into the bottom of the Flight Tree Topper then glue Strike Craft models to the tree.
Token Bases
Glue Strike Craft models directly to the Token Base supports.
